How to Stop a Roof Leak

You’ve noticed a small stain forming on your ceiling, in your attic, or running down one of your walls. You most likely have a roof leak. Small leaks should be addressed right away to avoid larger, costly problems in the future. We always recommend contacting a professional for any project involving a roof. It’s just too dangerous to take chances. If you’re sure-footed, experienced, and handy, however, a small leak may be something you can take care of on your own.
Please be advised: Climbing onto your roof is extremely difficult and dangerous. Unless you have the experience and necessary tools to safely perform the job, we recommend bringing in a professional.
Assess the leak
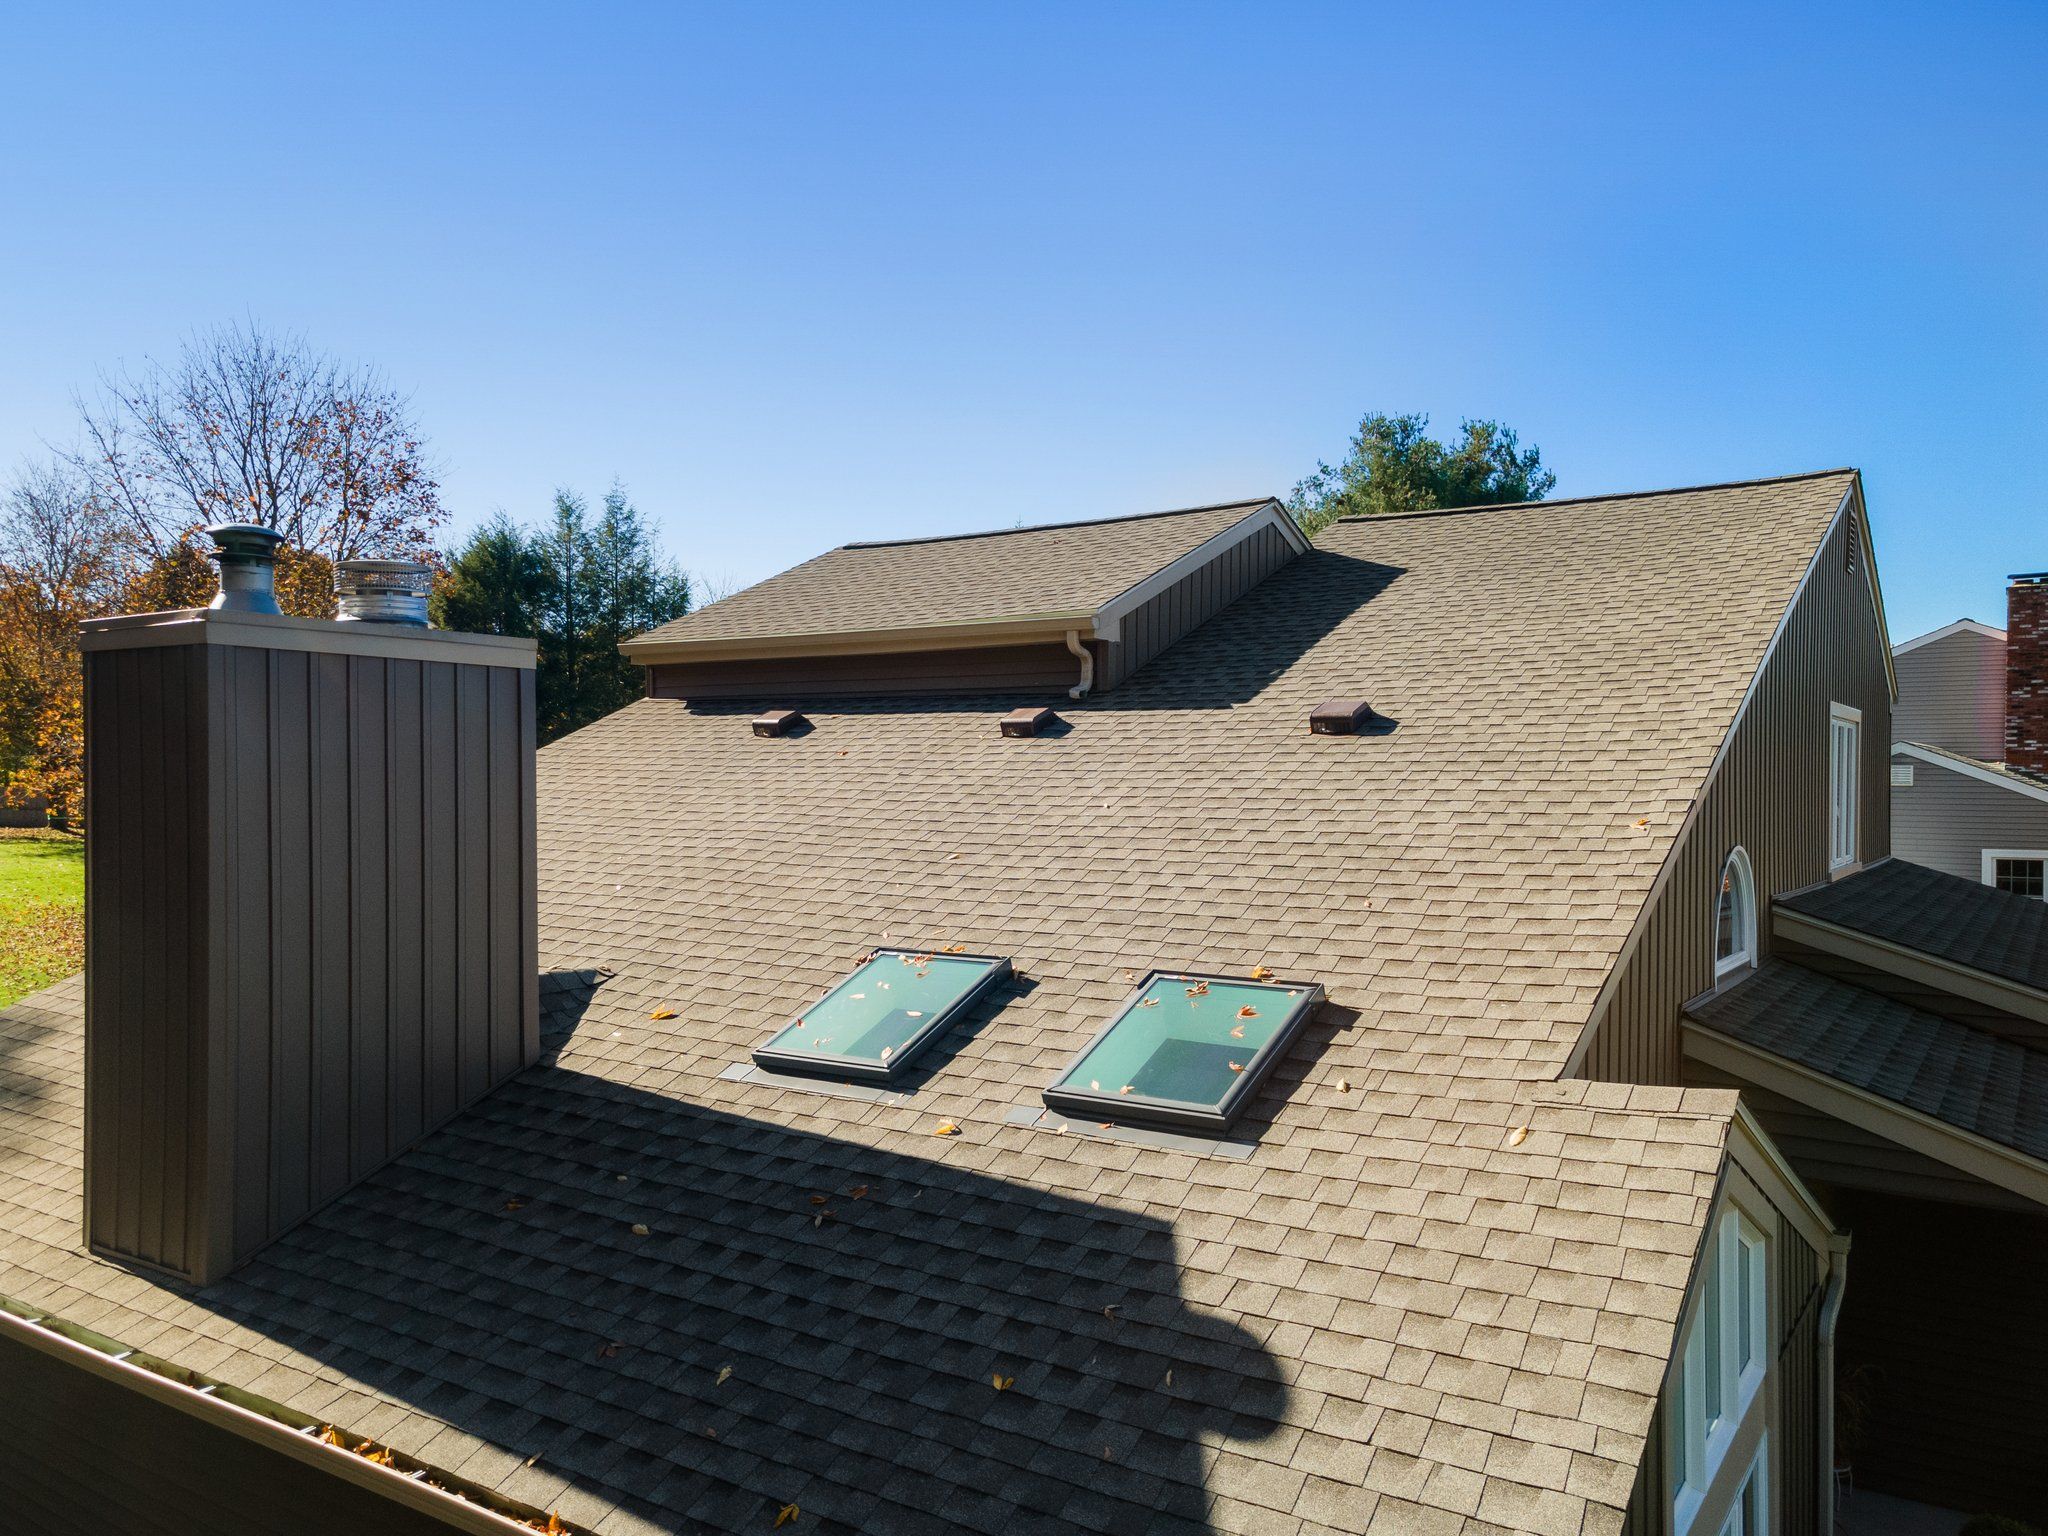
Leaks usually start uphill and run down to the area where the stain forms. To pinpoint the area where the leak originated, start in your attic and look for stains, mold, or watermarks around areas such as the chimney, vents, pipes, or flashing. Damaged shingles could also be the culprit. Perform a quick inspection, from outside, for any damaged shingles and make a note of where those shingles are located from your attic to check for leaks in that specific area.
Damaged shingles include shingles with missing granules or curled edges, and of course missing shingles.
Use your garden hose to run water above the suspected leak area. If water appears inside your attic or home, you know the leak is in that area. If not, keep running water over one area at a time until you pinpoint the area of the leak.
To Repair Asphalt Shingles
If you find a damaged or missing shingle that is causing the leak, lift and remove the damaged shingle and pry out the nails.
Use a pry bar to lift the tab of shingles above the damaged area and slide a new shingle under and into place. Use roofing nails to secure the new shingle into place under the overlapping tab of shingles. Coat each nail head with adhesive. Finally, press the above shingle tabs down to secure them overlapping the new shingle.
Be sure to pay attention to your manufacturer’s warranty. Some roofing warranties can be voided if nails aren’t placed a certain distance apart or if a certain number of nails hasn’t been met.
To Repair a Leak in Your Flashing
The area where flashing intersects with your home can also become vulnerable to leaks.
For a quick repair, clean away any debris and old caulking or sealer. Run a bead of waterproof siliconized latex sealant along the joint edge between where the flashing intersects with your home.
Other Roof Leak Tips
- Replace any nails that seem loose. Check those securing the shingles, as well as those fastening pipes and other fixtures.
- Replace any cracked vent housings or boots.
- Caulk and seal any cracks around windows, dormer walls, flashing, chimneys, etc.
- Cover leftover holes from anything that may have been mounted on your roof.
- Replace old chimney flashing.
- Call a professional to replace any areas that are rotten.
It can be difficult to locate and repair a leak on your own. If the leak has been present for a good amount of time, further damage such as rotting or mold can occur. It’s best to call a professional to properly assess and repair the damage while it’s still minimal. Leaks left unfixed or improperly patched can cause severe and costly damages to your home in a short amount of time. We always offer a free assessment and we can also help with your insurance company if needed.
Ask us about our easy financing options, too!
We’re ready to help you get started with your project!
For a free estimate and consultation for your roofing, siding, or windows, call us at 401-438-1499 or email info@marshallbr.com.
Please contact me.
"*" indicates required fields
Get helpful tips in your inbox
Our goal is simply to help you navigate the world of home repairs.


